How to Mount an Outdoor TV (2026 Setup Guide)
TL;DR — The 5-Minute Mounting Decision
For 90% of installations, mount your outdoor TV on an exterior wall using an outdoor-rated VESA-pattern wall bracket with stainless steel hardware. The two specs you need from your TV’s spec sheet:
- VESA pattern (e.g., 600 × 400 mm — that’s the ByteFree BF-55ODTV‘s spec)
- Total weight (the BF-55ODTV is 28.5 kg / 63 lbs)
Match these to the bracket’s load rating and pattern, leave a 2–3 inch gap behind the TV for ventilation, route cables through a weatherproof conduit, and you’re done in about 90 minutes.
Below is the full mount-type comparison and step-by-step process.
Step 1: Find Your TV’s VESA Pattern
VESA is the standard mounting interface. The pattern is the distance between the four mounting holes on the back of the TV, expressed as horizontal × vertical millimeters. Common 55-inch outdoor TV VESA patterns:
| Pattern | Models that use it |
|---|---|
| 600 × 400 mm | ByteFree BF-55ODTV, Sylvox DeckPro, SunBriteTV Veranda 3 |
| 400 × 400 mm | Sylvox Patio (50”), some 50-inch models |
| 400 × 300 mm | Smaller (43-inch) outdoor TVs |
Verify on the spec sheet, not the marketing page. A bracket that’s “VESA universal” will fit anything from 200 × 200 to 600 × 400, but you need the right adapter arms.
The ByteFree BF-55ODTV ships with a screw kit (M8 × 4 plus 4 weather gaskets) — the bolts that go into the TV. You still need the bracket.
Step 2: Choose Your Mount Type
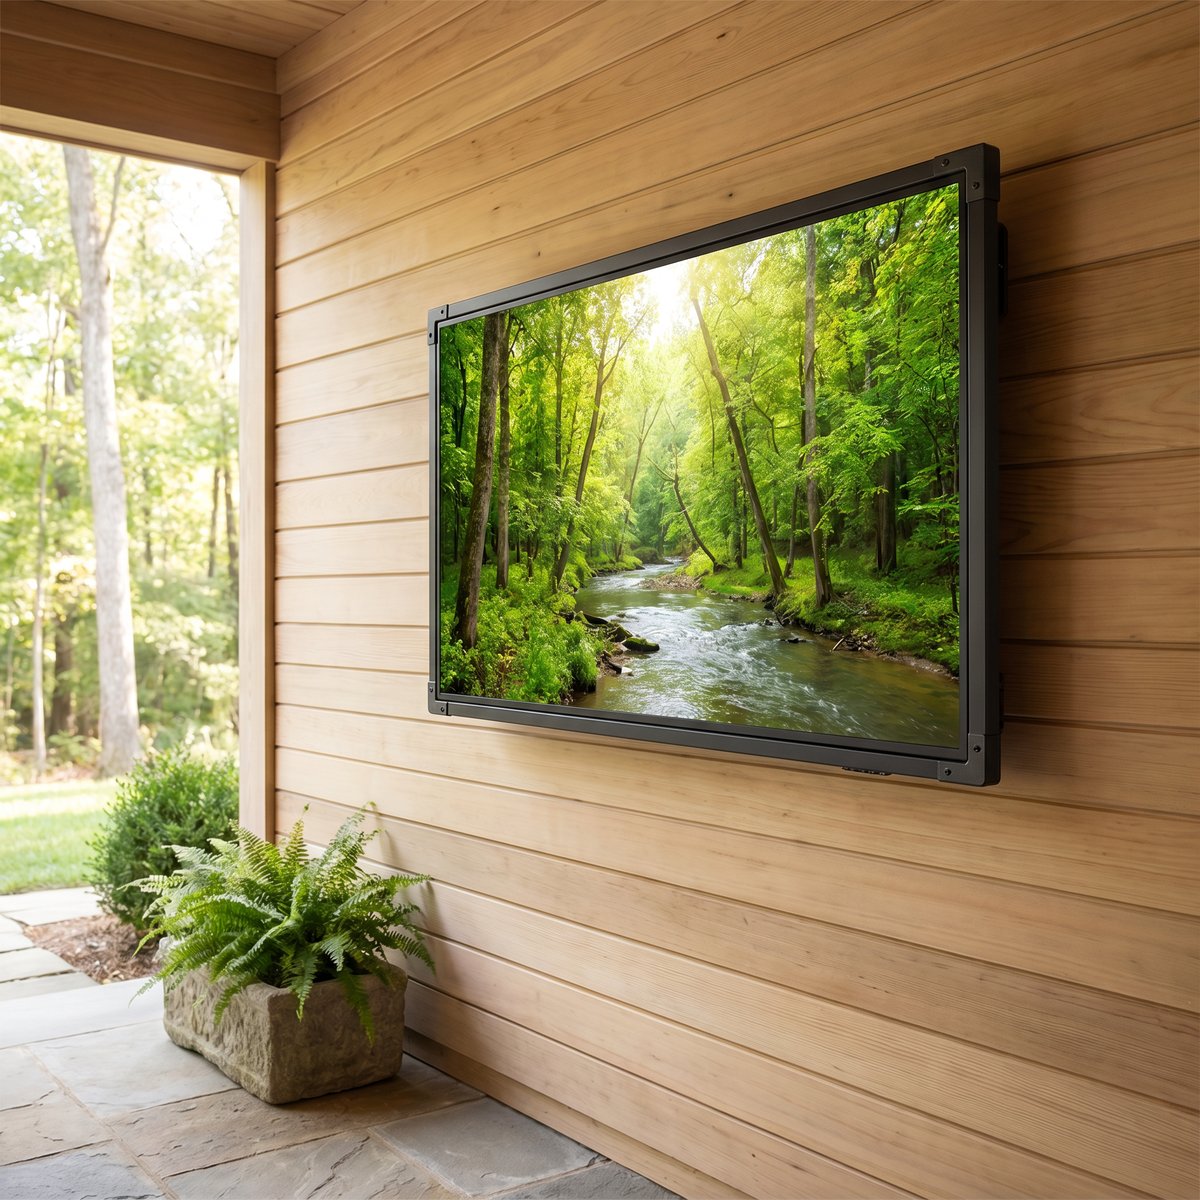
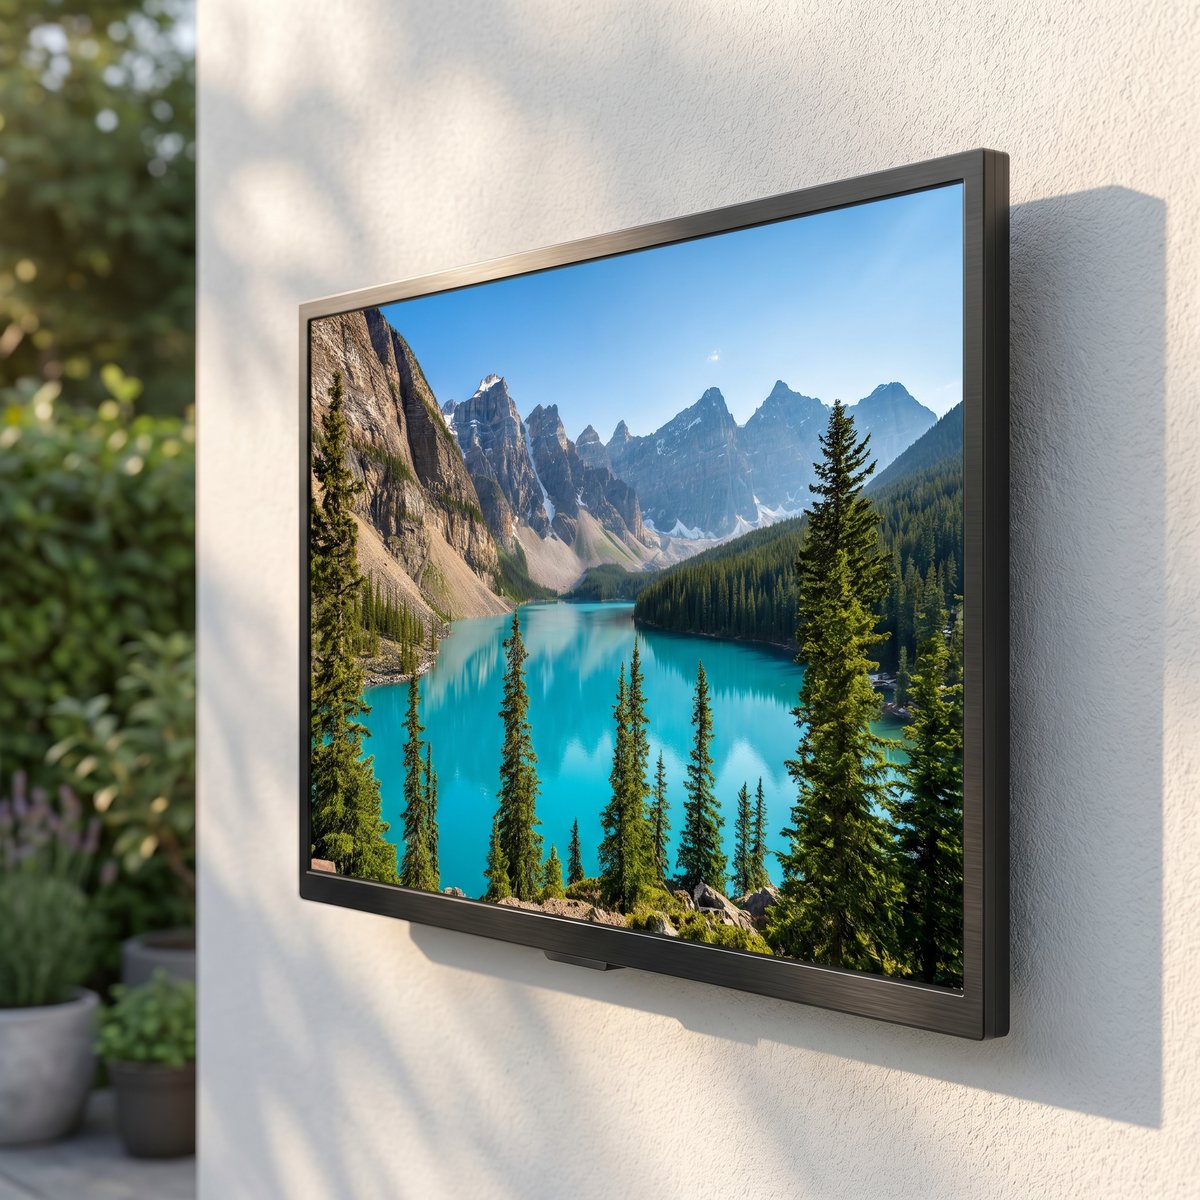
Option A: Fixed Wall Mount — $80–$150 ⭐ Most Common
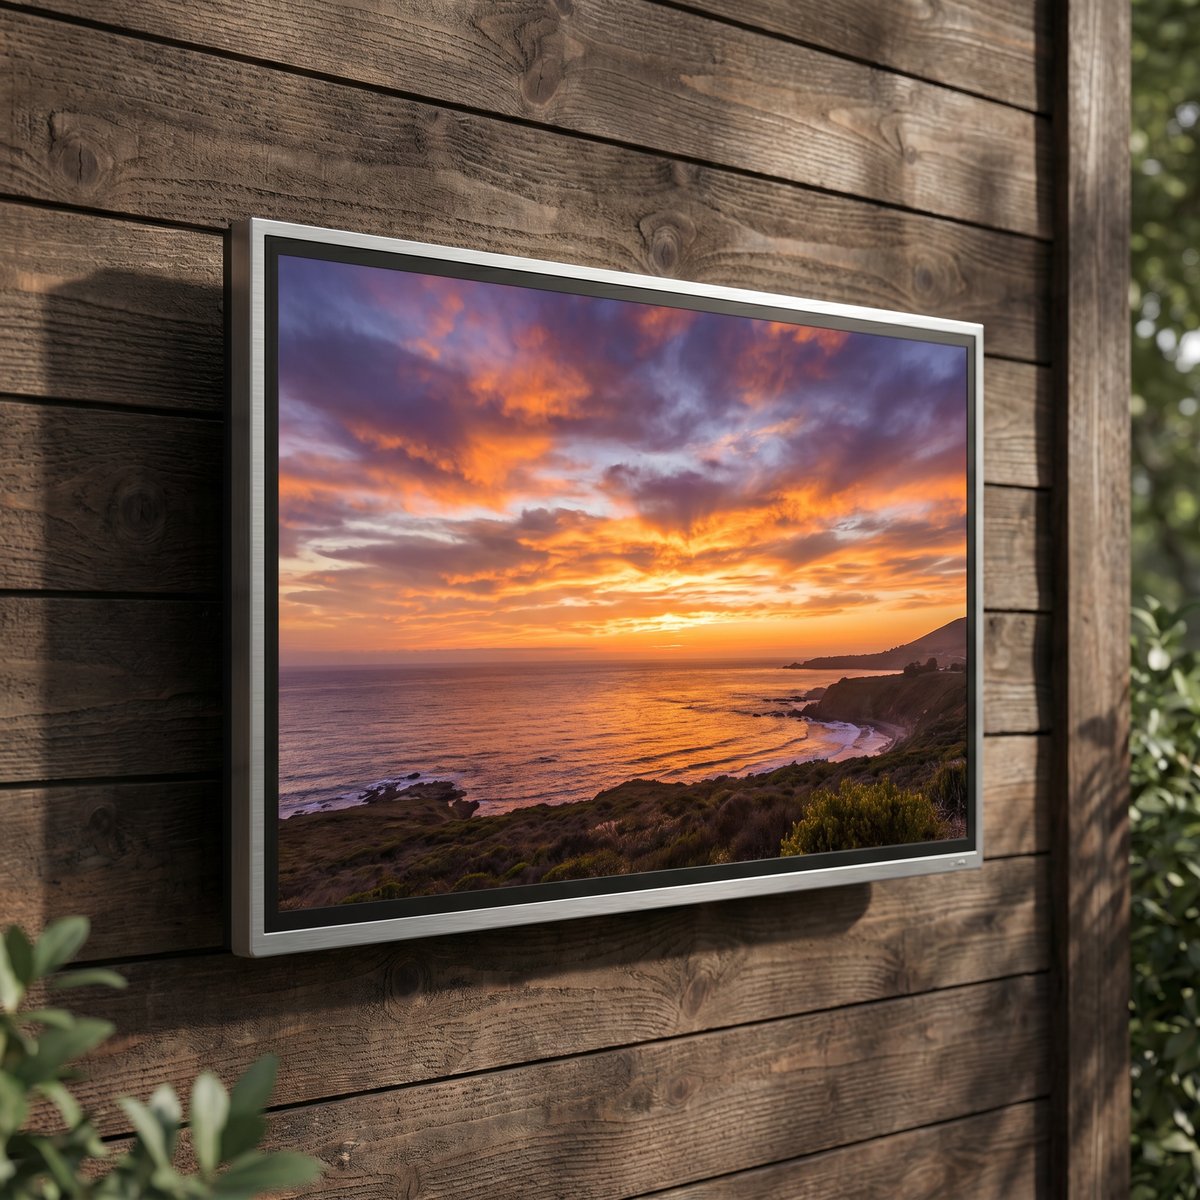
A flat, low-profile mount that holds the TV parallel to the wall. Simplest install, lowest cost, and the best look.
Use this if: you have a solid exterior wall (stone, brick, concrete, or properly framed siding) within 12 feet of a power outlet, and the TV’s viewing angle from your seating area is reasonable.
Recommended specs:
- Outdoor / marine-grade construction
- Powder-coated steel or anodized aluminum
- Load rating ≥ 1.5× your TV weight (so a 60-lb TV needs a 90-lb mount)
- Stainless steel hardware (NOT zinc-plated, which rusts within 2 summers)
Option B: Tilting Wall Mount — $130–$200
Adds 5–15 degrees of downward tilt. Helpful when the TV is mounted higher than eye level (above a fireplace, on a tall wall).
Use this if: your only mounting wall is high (over 7 feet from the ground) and you’ll be sitting below.
Option C: Articulating / Full-Motion Wall Mount — $200–$400
Pulls the TV away from the wall on a swing arm, allowing 90° of rotation. Useful for indoor-outdoor viewing where you want to angle the TV toward a kitchen window or sliding door.
Use this if: you have a covered porch and want flexibility, or your TV serves both indoor and outdoor seating zones.
Trade-off: more arm = more leverage = higher load on wall anchors. Make sure your wall can take it.
Option D: Pole / Pillar Mount — $250–$500
Standalone post anchored in concrete, with the TV mounted to the top. Used when there’s no suitable wall.
Use this if: you’re mounting on a deck or patio with no nearby wall, or you want the TV in the middle of an outdoor space (poolside, garden viewing, gazebo).
Specs to check: pole diameter (for stability), depth of concrete footing (typically 3-foot minimum below frost line), cable conduit through the pole.
Option E: Pergola / Beam Mount — $150–$300
Clamps to overhead pergola beams, hanging the TV beneath. Cool aesthetic but less common.
Use this if: your seating area faces up to a pergola overhead.
Watch out for: wind sway, beam load rating (most pergolas aren’t engineered for hanging weight), and rain coming through the pergola louvers.
Option F: Outdoor TV Cabinet — Avoid
We covered why putting an indoor TV in an outdoor cabinet is a bad idea in our Can I Put a Regular TV Outside article. Even with an outdoor TV, cabinets reduce airflow, trap heat, and add cost without protective benefit. Skip cabinets entirely.
Step 3: Pick the Mounting Surface and Anchors
Different walls need different anchors:
| Wall Type | Anchor Type | Notes |
|---|---|---|
| Solid concrete / brick / stone | Sleeve anchors or wedge anchors, M10 or 3/8” | Best — holds 200+ lbs each |
| Stucco over wood frame | Lag bolts into stud (3” minimum penetration) | Hit the stud, not just stucco |
| Wood siding over wood frame | Lag bolts into stud | Use sealant around hole |
| Vinyl siding | Use a mounting block to span studs | Don’t lag directly into vinyl |
| Metal (aluminum, steel siding) | Toggle bolts or sheet-metal screws | Needs structural backer |
Always anchor into structure, not just into siding. A 60-lb TV with full-motion arm extended produces 200–400 lbs of leverage on the wall. Anchors going into hollow siding will tear out.
Step 4: Cable Routing
This is where most amateur installs get sloppy.
For each cable (HDMI, power, ethernet):
- Use outdoor-rated cable with UV-stable jacket. Indoor HDMI cables crack within one summer.
- Run cables through PVC or stainless conduit if exposed. Direct exposure leads to rodent chewing and UV degradation.
- Drip loop: leave a downward U-curve in the cable just before it enters the TV. Water flows down to the lowest point and drips off rather than running into the connector.
- Sealant around any cable pass-through hole in the wall.
- Plug all unused TV ports with the included rubber covers (the ByteFree BF-55ODTV includes covers for HDMI, USB, RF, and Ethernet ports).
Step 5: Power and Surge Protection
- Outdoor-rated GFCI outlet within 10 feet of the TV. NEC code requires GFCI for outdoor outlets.
- Whole-house surge protector at the panel (worth the $150–$250 once-only cost) — outdoor TVs are more vulnerable to lightning-induced surges than indoor TVs.
- In-line surge protector at the TV’s plug as second line of defense.
The ByteFree BF-55ODTV’s 230W power consumption is well within any 15A circuit; no special wiring needed.
Step 6: The Install Process
For a fixed wall mount on stone or brick:
- Confirm height: bottom of screen at 42–48 inches above seated eye level. Sit in your viewing chair, mark the wall.
- Mark the bracket holes using the bracket as a template, level and double-check.
- Drill pilot holes with a hammer drill and masonry bit, depth = anchor length + 1 inch.
- Insert sleeve anchors, tap flush.
- Bolt the bracket to the wall using a torque wrench (50–80 N·m typical for M10).
- Apply outdoor sealant around bracket-to-wall edges to prevent water ingress.
- Attach the bracket arms to the TV using the included M8 bolts and rubber gaskets (ByteFree BF-55ODTV includes 4 gaskets specifically for this).
- Lift and seat the TV onto the wall plate (two-person job for any TV over 50 inches).
- Connect cables with drip loops; plug rubber covers into all unused ports.
- Final test: power on, verify image quality, check the TV is level (use a torpedo level on the top edge).
Total time: 90 minutes for a first install, 60 minutes for experienced.
The 5 Most Common Mounting Mistakes
Mistake 1: Wrong Hardware Material
Using zinc-plated bolts instead of stainless steel. Zinc rusts within 2 summers, then the rust streaks down your wall and the bolts seize so you can’t service the TV. Always stainless or marine-grade.
Mistake 2: Mounting Too High
A TV mounted at chest height in your living room might be at face height when you’re seated at the patio dining table. Always sit in the actual seat, look forward, and mark the spot.
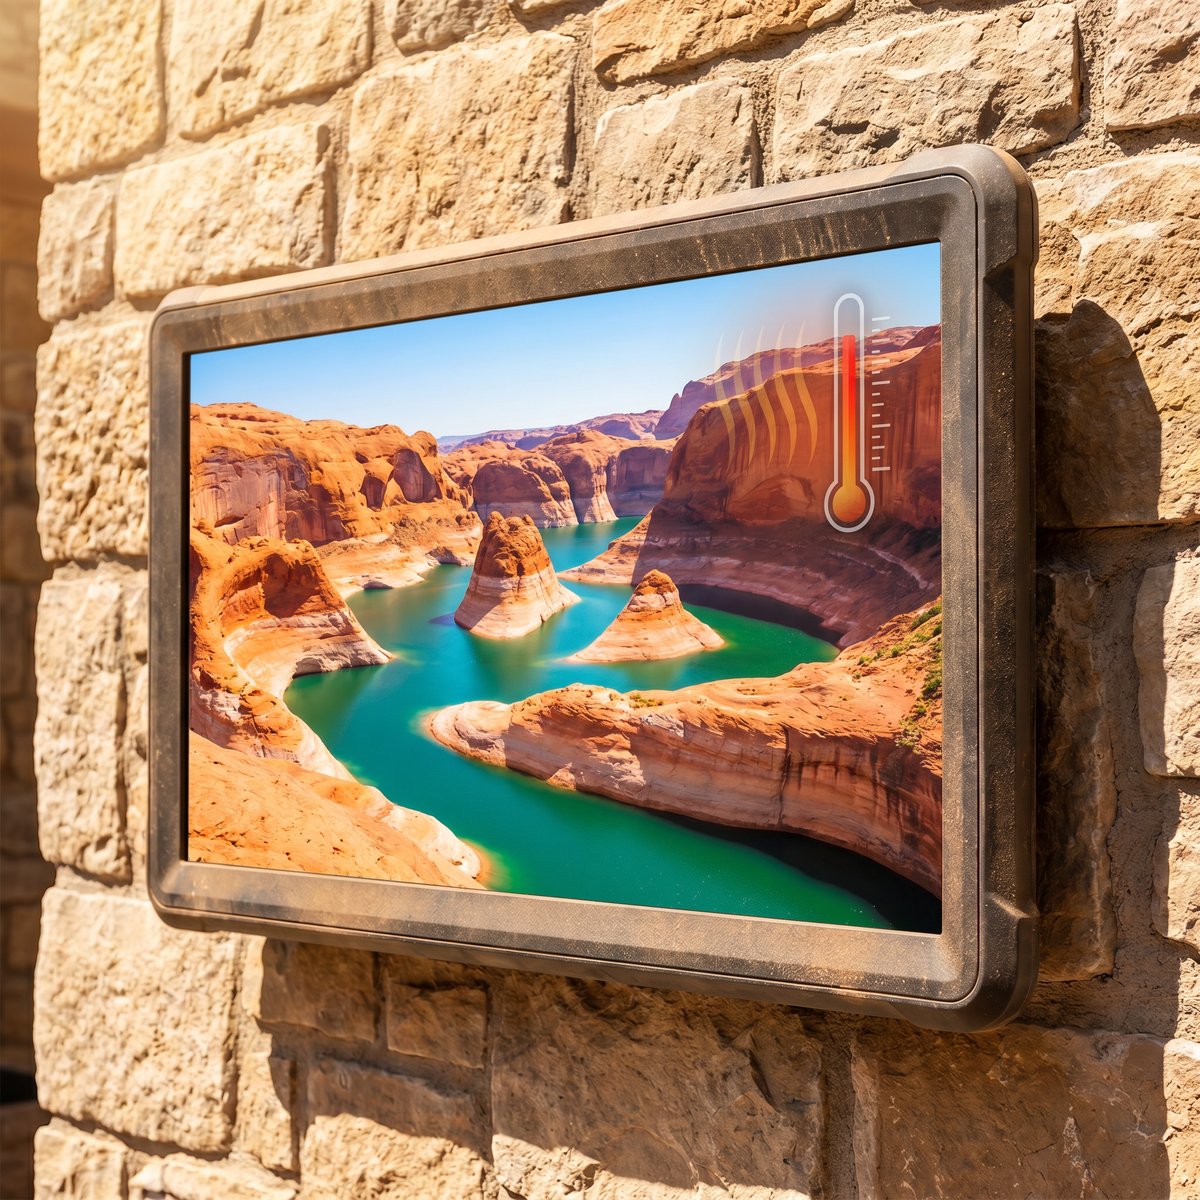
Mistake 3: Insufficient Ventilation Gap
Outdoor TVs (including the ByteFree BF-55ODTV with 4 active fans) need at least 2–3 inches of airspace behind the back panel. Wall mounts that pull the TV flat against the wall block fan exhaust and cause overheating.
Mistake 4: No Drip Loops
Cables routed straight up into ports become channels for water. Always loop down then up so water drips off the lowest point.
Mistake 5: Forgetting the Tilt for Glare
Even with anti-glare coating, a small downward tilt (3–5°) reduces sky reflection significantly. Worth doing if your mounting position has open sky above.
Frequently Asked Questions
Can I install an outdoor TV myself or do I need a pro?
DIY for fixed wall mounts on solid walls if you’re comfortable with a hammer drill — most people complete this in 90 minutes. Hire a pro for: pole mounts (concrete pour required), full-motion mounts on framed walls, or any install above 8 feet (ladder safety). Expect $200–$400 for professional installation.
Does the ByteFree BF-55ODTV come with a wall bracket?
It includes the M8 × 4 screw kit and gaskets to attach the TV to a VESA 600 × 400 mm bracket — but the bracket itself is purchased separately. We recommend stainless steel or powder-coated aluminum brackets to match the TV’s outdoor lifespan.
What’s the load rating I need on my bracket?
At minimum 1.5× the TV’s weight. The ByteFree BF-55ODTV weighs 28.5 kg / 63 lbs — buy a bracket rated for 100 lbs (45 kg) or higher for safety margin.
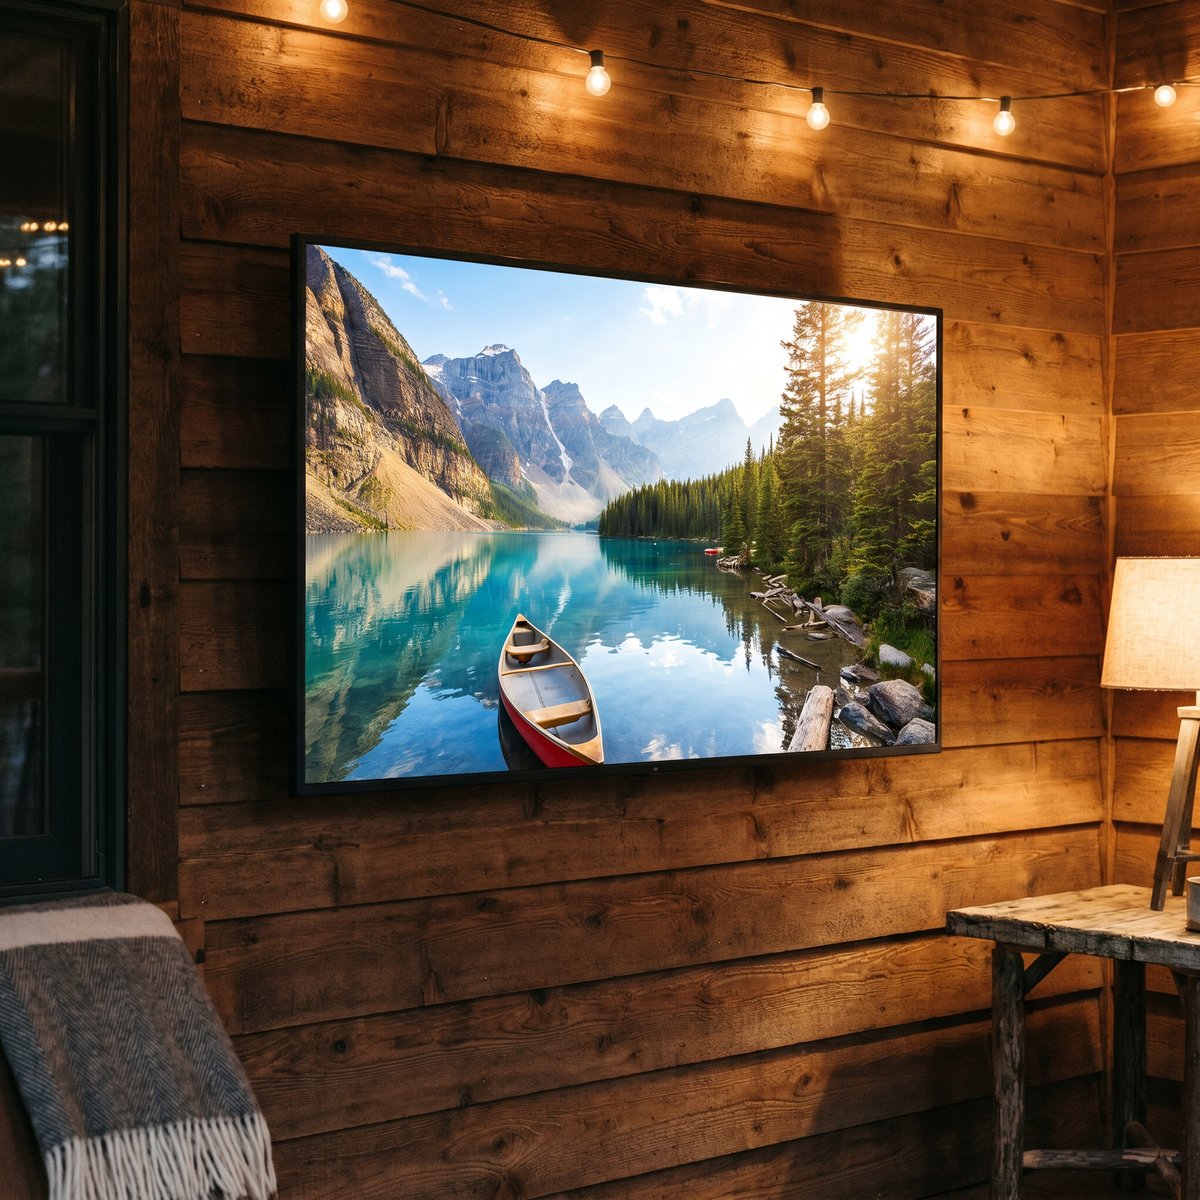
Can I mount an outdoor TV under my deck (covered)?
Yes — a covered location actually extends panel life by reducing UV exposure. Just verify the location still has GFCI-protected power, and follow normal mounting practices.
Do I need a special outdoor HDMI cable?
Yes — indoor HDMI cables have non-UV-stable jackets that crack within a summer. Look for “outdoor-rated” or “direct-burial” HDMI cables, or run a regular indoor HDMI through PVC conduit.
Final Note
Mounting an outdoor TV is genuinely simple when done right. The key is using outdoor-rated hardware throughout, anchoring into structure rather than siding, and respecting the 2–3 inch ventilation gap behind the TV. For under-$1,500 outdoor TVs that fit standard VESA 600 × 400 brackets, the ByteFree BF-55ODTV is the easiest fit — 600 × 400 is the most widely supported pattern in outdoor mount catalogs.
For the rest of the spec checklist before buying, see our Outdoor TV Buying Guide 2026.